

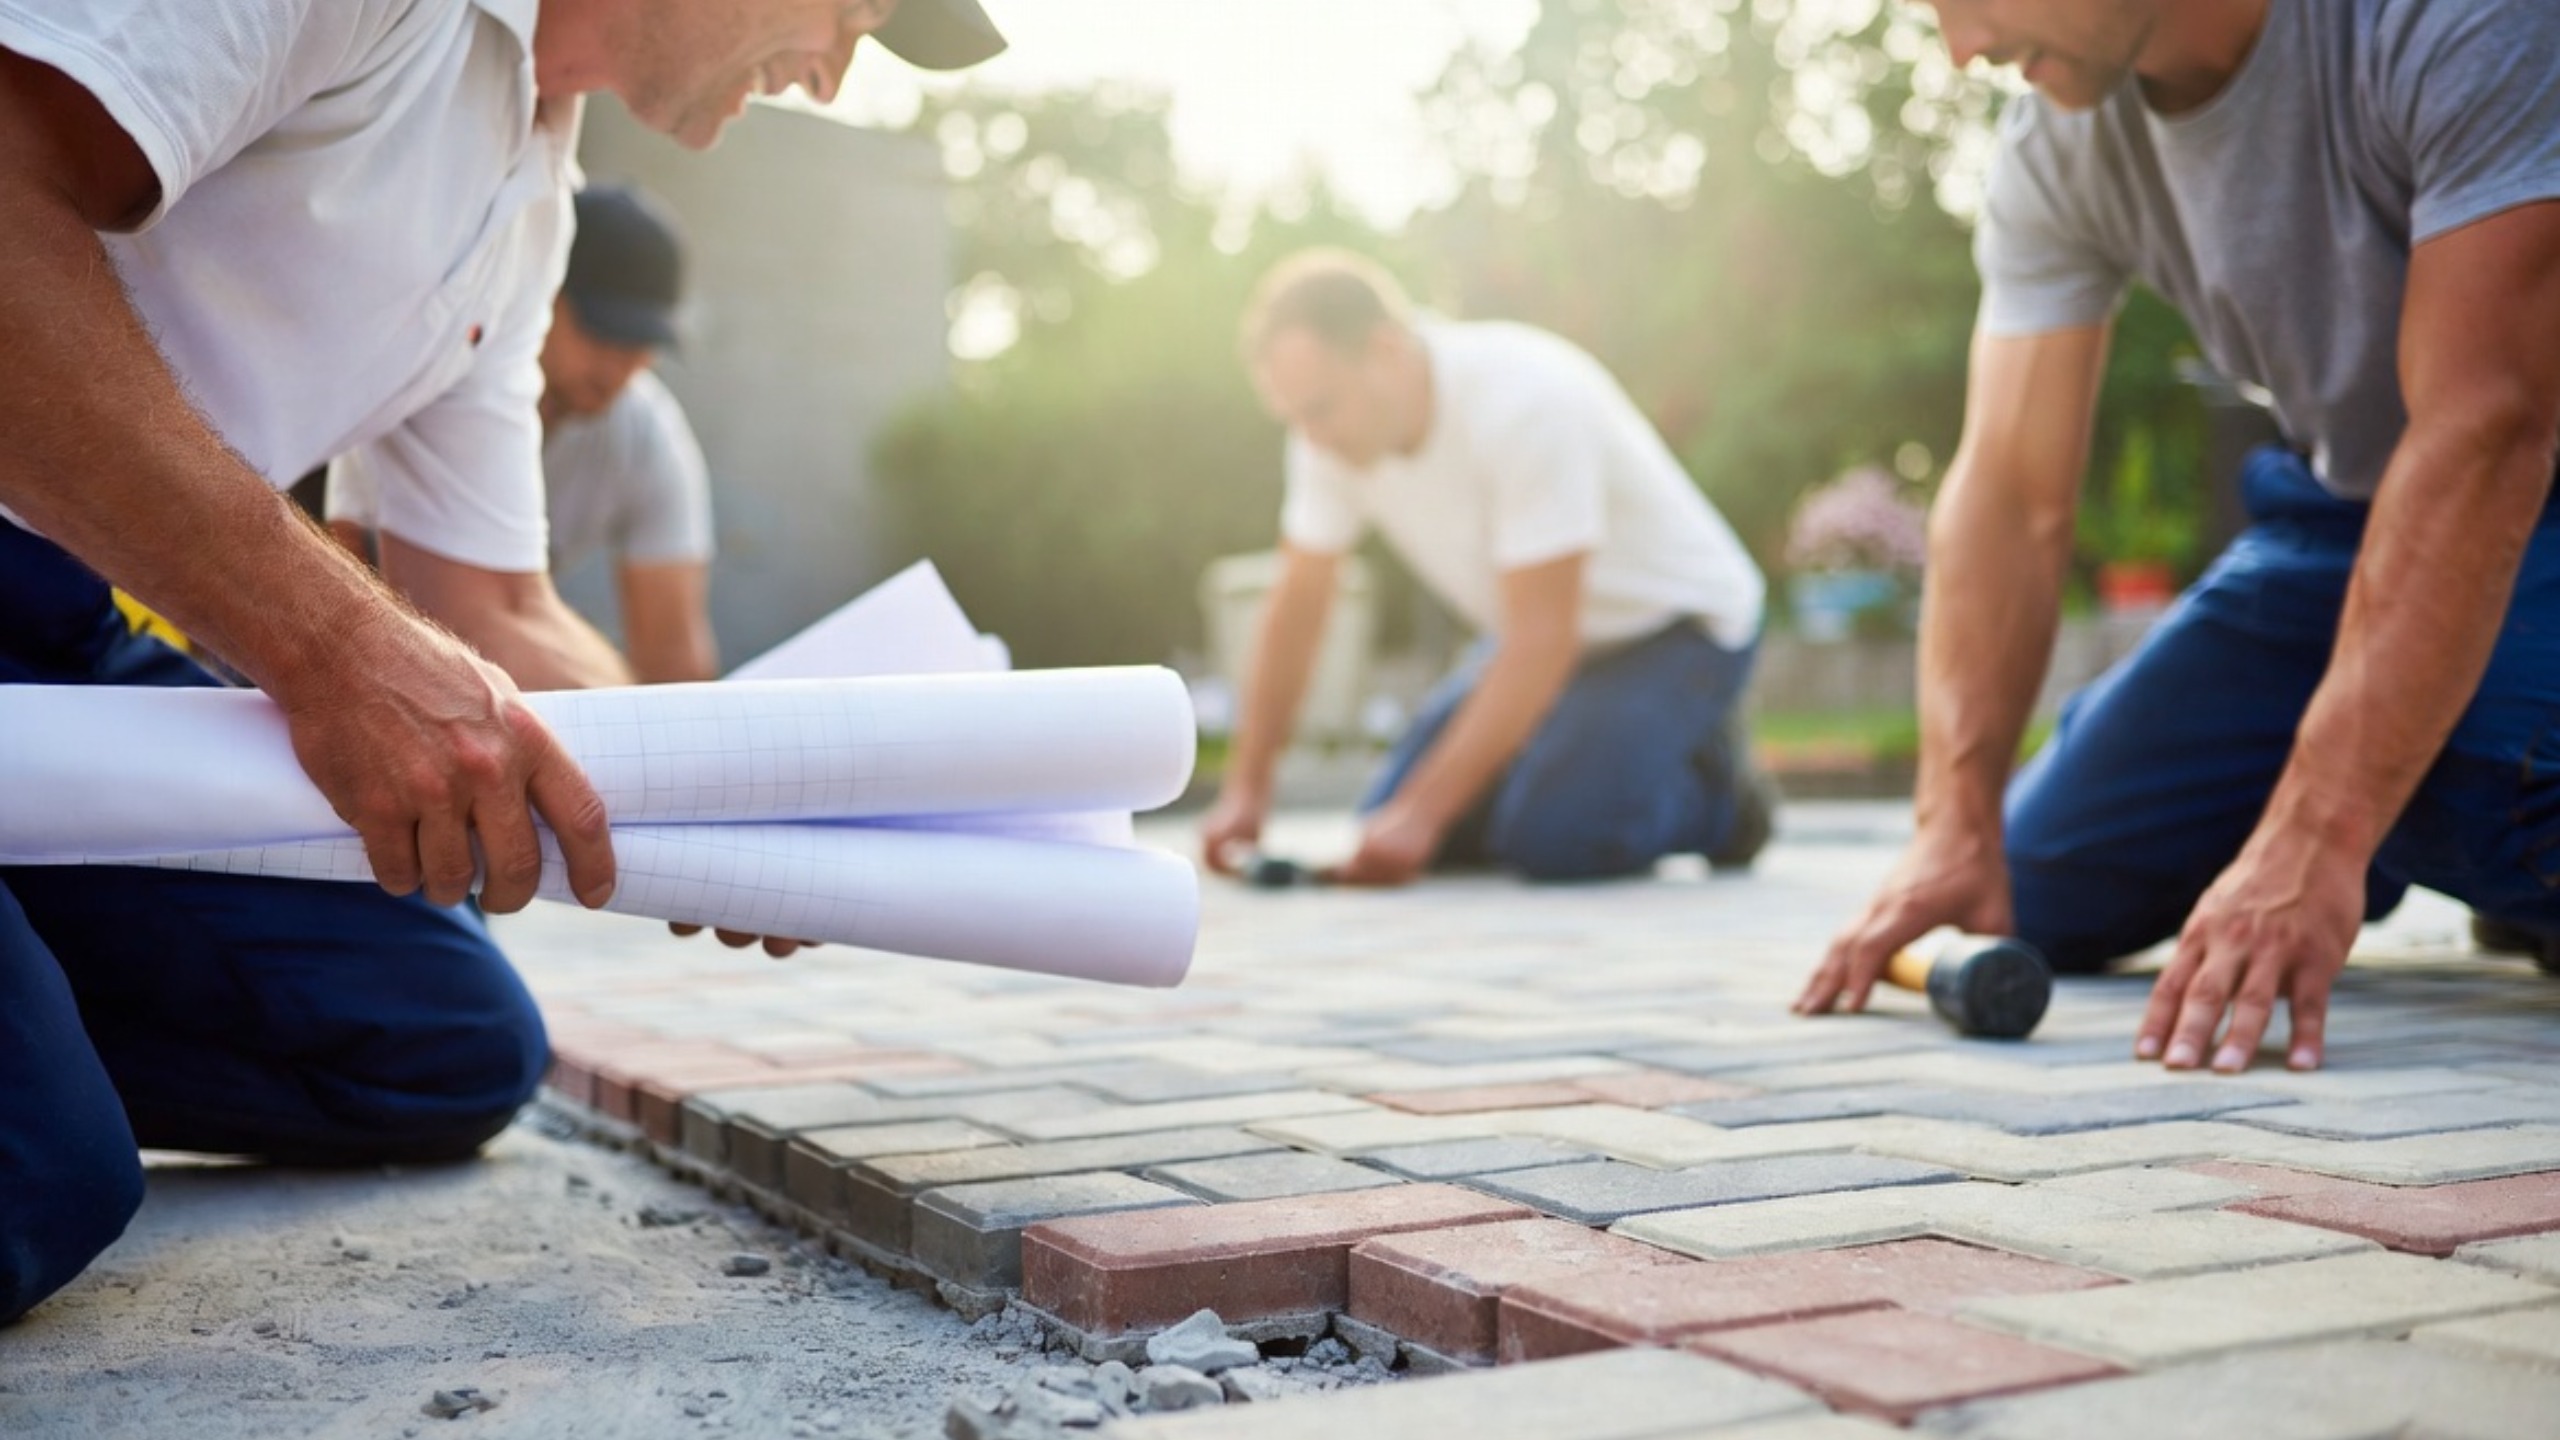
Direct answer. Interlock driveway installation in Toronto in 2026 costs $18 – $40 per square foot installed. A 500 sq ft 2-car driveway runs $9,000 – $20,000; an 800 sq ft long drive $14,000 – $32,000. Properly installed with 100 – 150 mm of compacted Granular A base, interlock lasts 25 – 35 years in Toronto’s freeze-thaw climate.
Key Takeaways
- Driveway pavers: $18 – $40 per sq ft installed (concrete, clay, or natural stone).
- 100 – 150 mm Granular A base compacted to 95% Standard Proctor.
- Edge restraint at every 1.2 m minimum — without it, pavers shift within 2 – 3 winters.
- Polymeric sand joint stabilization prevents weed growth and joint failure.
- Sealing (every 2 – 3 years) extends colour life but is optional; polymeric sand replacement (every 5 – 8 years) is more important.
Why Country Renovations. Building Toronto and GTA renovations since 2014. HCRA-registered, licensed plumbing & electrical trades, WSIB-cleared, $5M general liability insured. Free written fixed-price quote in 5 business days. Book a free site visit →
Interlock driveway installation in Toronto costs $20 to $35 per square foot in 2026, with most double-car driveways landing between $18,000 and $28,000 installed. A proper installation takes five to eight working days and requires six to eight inches of compacted Granular A base, a geotextile membrane, and polymeric sand joints to survive Toronto’s freeze-thaw cycles.
Every spring we see the same pattern. A homeowner in North York got an “unbeatable” $14 per square foot quote three years ago, and now the driveway looks like a bike jump. Pavers heaving at the edges, sand washed out of every joint, a low spot in the middle that ponds after every storm. The problem was never the pavers; it was what the installer skipped underneath them. An interlock driveway done properly lasts 25 to 30 years. Done cheaply, it lasts three winters.
This guide walks through what a real interlock driveway installation Toronto homeowners can trust looks like in 2026: the cost breakdown, the permits most homeowners don’t know they need, the base-prep spec that separates long-life driveways from cheap ones, and what to ask for in a quote so you don’t end up paying twice.
Key Takeaways
– Interlock driveway installation in Toronto costs $20–$35 per sq ft in 2026, with double-car driveways typically $18,000–$28,000 installed.
– Toronto Zoning Bylaw 569-2013 caps hard surface coverage at roughly 50% of the front yard on most residential lots. Check before expanding.
– A new or widened curb cut requires City of Toronto Transportation Services approval, with fees of $800–$2,500 plus inspection.
– Proper base prep (6–8″ compacted Granular A + geotextile + 1″ bedding sand) is the single biggest factor in a driveway that lasts 25+ years.
– Installing hydronic heated-driveway tubing during interlock installation costs 40–60% less than retrofitting later.
What Is Interlock, and Why It Works in Toronto
Interlock is a driveway surface built from individual concrete pavers set into a compacted base and locked together with sand-filled joints. Unlike poured concrete, which acts as one rigid slab, interlock is a flexible system. Each paver can shift a millimetre or two with the seasons without breaking the surface.
That flexibility matters in Toronto. Our freeze-thaw cycle runs from November to April, and the ground under your driveway expands and contracts dozens of times each winter. A concrete slab fights that movement and eventually cracks. Interlock moves with it.
The “flexible pavement” principle
Industry standard installation, based on ICPI guidelines, treats interlock as a layered system: compacted subgrade, geotextile separation fabric, six to eight inches of Granular A base, one inch of bedding sand, the pavers themselves, and polymeric sand packed into the joints. Each layer has a job. Skip one and the driveway fails, not immediately, but within a few winters.
Common paver brands in the GTA
Most Toronto installers work with four manufacturers:
- Techo-Bloc, Quebec-based, premium styling, consistent colour
- Unilock, Ontario-based, largest product range, trusted for commercial and residential
- Permacon, Quebec-based, strong on modern profiles
- Oaks Landscape Products, Ontario-based, popular for standard residential driveways
All four make durable pavers rated for heavy vehicle use. The differences are mostly stylistic (colours, textures, sizes) and price per unit. Brand is not where driveways fail. Installation is.
Interlock Driveway Installation Toronto: 2026 Cost Breakdown
Interlock pricing in Toronto sits in three clear tiers in 2026.
By quality tier
- Standard installation: $22–$30 per sq ft. Quality Granular A base, standard pavers, solid workmanship. Expected lifespan: 25+ years with basic maintenance.
- Mid-range / luxury: $30–$42 per sq ft. Higher-end pavers (Techo-Bloc designer lines, Unilock Series 3000), custom patterns, decorative banding, premium polymeric sand.
- High-end custom: $42–$60+ per sq ft. Natural stone inlays, multiple paver types, curved designs, integrated lighting or heating, extensive hardscape coordination.
Anything under $20 per sq ft in 2026 is a signal the installer is cutting corners. Most commonly: insufficient base depth, no geotextile, cheap bedding material, or regular sand instead of polymeric sand in the joints.
Typical total project cost by size
- Single-car driveway (20′ x 10′, 200 sq ft): $10,000–$14,000
- Double-car driveway (20′ x 20′, 400 sq ft): $18,000–$28,000
- Three-car wide (30′ x 20′, 600 sq ft): $25,000–$38,000
- Larger driveways (6+ car): $35,000–$70,000+
These ranges assume a flat site with no major drainage or retaining-wall work. Add $1,500–$4,000 if the driveway needs regrading or a French drain to handle water pooling.
What separates a $22 quote from a $32 quote
At a glance, two quotes might look similar. The differences are usually:
- Base depth. A $22 quote might spec 4 inches of Granular A. A $32 quote specs 8 inches. In a Toronto winter, that’s the difference between a smooth driveway and a wavy one.
- Geotextile. The fabric that keeps soil from migrating up into the base adds $0.50–$1.00 per sq ft in material but doubles base-layer lifespan. Cheap quotes skip it.
- Bedding material. High-performance bedding (HPB) or limestone screenings cost more than play sand but don’t migrate under load. Cheap quotes use the wrong sand.
- Joint material. Polymeric sand costs roughly $40 per bag vs. $6 for regular mason sand. Polymeric lasts 7–10 years and resists weeds and ants. Regular sand washes out in the first heavy rain.
- Edge restraint. A proper plastic or aluminum edge restraint with 10-inch spikes locks the perimeter. A cheap installer skips this or pours a thin concrete toe, which fails in 2–3 years.
Planning a new driveway? Our interlock installation service walks homeowners through the full spec up front so there are no surprise line items later.
GTA regional variance
Pricing shifts noticeably by sub-region. Scarborough and Etobicoke typically run $3–$7 per sq ft below central Toronto on comparable scope. North York, East York, and inner-west projects sit at the Toronto baseline. Oakville and parts of Mississauga run 10–15% above baseline because of higher-end finish expectations and stricter local inspection standards.
Interlock vs Concrete Driveway Toronto: Which Is Best?
The interlock vs concrete driveway Toronto homeowners keep debating comes down to climate and maintenance. Every homeowner ends up comparing interlock against concrete and asphalt. Here’s how they stack up in 2026 Toronto conditions.
| Factor | Interlock | Concrete | Asphalt |
|---|---|---|---|
| Install cost | $20–$35/sq ft | $12–$20/sq ft | $6–$12/sq ft |
| Lifespan (Toronto) | 25–30 years | 20–25 years | 15–20 years |
| Repair approach | Lift and reset individual pavers | Slab replacement | Patch and reseal |
| Freeze-thaw performance | Excellent (flexes) | Poor (cracks) | Moderate (softens) |
| Drainage | Good (joints permeable) | Poor (runoff) | Poor (runoff) |
| Resale value impact | Highest | Moderate | Lowest |
| Maintenance | Re-sand joints every 7–10 yrs, seal every 3 yrs | Crack-fill annually, seal | Reseal every 2–3 yrs |
| Design options | Many colours, patterns, accents | Limited (stamping possible) | Black only |
The short version: Concrete is cheapest to install but cracks in Toronto winters. Asphalt is cheapest overall but is ugly, soft in summer heat, and needs frequent resealing. Interlock costs more upfront but outlasts both by a decade and holds resale value better because damaged sections can be lifted and reset for a few hundred dollars instead of replaced.
Permits, Bylaws, and Zoning You Need to Check First
Most Toronto homeowners don’t realize an interlock driveway can trigger three separate approvals. Skipping any of them causes problems later, especially at sale.
Hard surface coverage under Zoning Bylaw 569-2013
Toronto’s Zoning Bylaw 569-2013 limits how much of a residential front yard can be covered in hard surface. The specific cap depends on your zone, but most R (residential) zones allow roughly 50% hard surface coverage of the front yard.
This matters when homeowners want to widen a driveway or add a second parking pad. If the expanded surface exceeds the cap, the project needs either a Committee of Adjustment variance (three to six months, $1,500–$3,000 in fees) or a different design using a permeable surface that doesn’t count against the cap.
Curb cut approval from City of Toronto Transportation Services
Any new or widened driveway that crosses the city boulevard to reach the road requires a curb cut permit from Toronto Transportation Services. The permit costs $800–$2,500 depending on driveway width and whether tree protection is required. City inspection follows completion. Working without this permit can result in orders to remove the curb cut at homeowner expense.
Stormwater and permeable surface requirements
Toronto’s stormwater rules increasingly push homeowners toward permeable surfaces on large new driveways. If your project expands impervious surface area significantly, the city may require a portion to be built with permeable pavers (which allow water to infiltrate) rather than solid interlock. Your contractor should flag this before design.
When a building permit is required
Standard interlock resurfacing of an existing driveway does not require a building permit. However, retaining walls over a certain height (usually 1 metre), raised patios, and any structural work do require permits. Your installer should handle this as part of the quote.
Not sure what applies to your lot? A free on-site assessment with Country Renovations includes a zoning and permit review so you know exactly what approvals the project needs before design fees are spent.
Interlock Driveway Installation Toronto: The 8-Step Process
Here’s what a professional interlock driveway installation Toronto-wide contractors should be doing, step by step, in 2026.
Every interlock installation Toronto contractors run in 2026 should follow this sequence. Shortcuts here are where driveways fail.
Step 1: Design, measurement, and utilities locate. The installer measures the site, confirms property lines, and calls Ontario One Call to mark underground utilities. Design drawings lock in pattern, paver brand, border type, slope direction, and any drainage features. Expected duration: 1–2 days of office work, a few days waiting for utility locates.
Step 2: Excavation. The existing driveway is removed and the subgrade is dug out to depth. For Toronto residential driveways, that’s typically 10–14 inches below finished grade: 1 inch for paver, 1 inch for bedding sand, 6–8 inches for Granular A, plus allowance for compaction. Excavated material is hauled away. Duration: 1 day.
Step 3: Geotextile and base preparation. A non-woven geotextile fabric is laid across the excavated subgrade. This prevents clay or silt from migrating up into the base over time. Granular A is then placed in 3–4 inch lifts, each lift compacted with a plate tamper to 95% Standard Proctor Density. Finished base depth: 6–8 inches. Duration: 1–2 days.
Step 4: Bedding sand and screeding. A 1-inch layer of High-Performance Bedding (HPB) or limestone screenings is placed over the compacted base and screeded smooth to final slope. Slope should be at least 2% (1/4″ per foot) for drainage. This layer is not compacted; the pavers settle into it during installation. Duration: Half day.
Step 5: Paver laying and pattern cutting. Pavers are laid from a fixed starting edge (usually the garage or house side) in the chosen pattern. Standard patterns include herringbone (strongest against vehicle movement), running bond, and basketweave. Edges are cut with a wet saw to match the driveway shape. A soldier course (border row) often frames the field. Duration: 2–4 days depending on size and complexity.
Step 6: Edge restraint installation. Plastic or aluminum edge restraint is installed along all exposed edges and secured with 10-inch spikes into the base. This locks the perimeter so pavers can’t drift outward over time. A hidden concrete toe is sometimes used where aesthetics matter. Duration: Half day.
Step 7: Polymeric sand joint filling and compaction. Polymeric sand is swept into the joints, then the entire driveway is compacted with a plate tamper (a rubber mat pad protects the paver surface). The tamping seats the pavers into the bedding sand and pushes sand deep into the joints. After sweeping and compacting, the surface is misted with water to activate the polymer binder, which hardens overnight. Duration: 1 day.
Step 8: Final clean and inspection. Excess sand is swept off, the surface is washed, and the installer walks the driveway to check for settled pavers, efflorescence, or surface damage. Any final adjustments are made. The homeowner should receive a written installation record and warranty documentation. Duration: Half day.
Mini case study: Sarah’s Scarborough driveway
Sarah owns a 1970s detached home in Scarborough with a 420 sq ft asphalt driveway that was patched three times in five years and still cracked every spring. In April 2025, she had the old asphalt removed and a full interlock driveway installed by a proper contractor. Techo-Bloc Blu 60 pavers in charcoal, herringbone pattern with a granite banding course, 8-inch Granular A base, geotextile, polymeric sand joints. Total cost: $12,800. Install time: 7 working days. A year later the surface is flawless, no joint sand loss, no settlement, no efflorescence. She expects the driveway to outlast the house.
Base Preparation: What Separates 10-Year from 25-Year Driveways
If you take one thing from this guide, take this: the base is the driveway. Pavers are decorative.
The 6-to-8-inch Granular A spec
Granular A is a crushed limestone aggregate with a specific particle gradation that locks tightly under compaction. For Toronto residential driveways, ICPI recommends a minimum of 6 inches compacted depth, with 8 inches for poor subgrades (clay, fill, or high water table). Each 3–4 inch lift must be compacted separately before the next is placed. One “cheap installer” shortcut is to dump 8 inches of loose gravel and tamp the top inch. This fails within a few winters.
Why geotextile matters
Clay and silt subgrades are common in Toronto. Without a fabric separator between the native soil and the Granular A base, water and freeze-thaw gradually pump fine particles up into the base layer, clogging its drainage and causing settlement. Geotextile fabric (non-woven, 4–6 oz weight) adds maybe $400–$700 to a typical driveway and doubles the effective life of the base. There is no scenario where skipping it pays off.
Bedding sand: HPB or screenings, never play sand
The 1-inch layer below the pavers has to be stable under point loads from vehicles while staying loose enough to let pavers seat evenly. HPB (High-Performance Bedding) and limestone screenings are the right materials. Play sand or mason sand are soft, migrate under load, and cause long-term settlement. If your quote doesn’t specify the bedding material, ask.
Compaction standards
Professional installers use a plate tamper or reversible plate compactor, not a hand-held vibrator, on each base lift. The industry standard is 95% Standard Proctor Density (SPD), verified by a calibrated plate tamper and the installer’s experience. You won’t see this tested on a residential job, but a quality installer will tell you their process.
Design Options: Patterns, Colours, and Accents
The surface finish is where homeowners get emotional about interlock. A few guidelines help the driveway look good in ten years, not just this summer.
Patterns. Herringbone (45° or 90°) is the strongest pattern against vehicle rotation and is the default for driveways. Running bond and basketweave are common but slightly weaker at interlocking under load. Circular and fan patterns work for statement driveways but cost 20–30% more in labour.
Colours. Charcoal, ash grey, and natural stone blends age best in Toronto. Bright reds and terracottas fade noticeably after five to seven winters of sun and salt. Multi-tone blends hide efflorescence (the white mineral bloom that sometimes appears on new pavers) better than solid colours. The best interlock driveway Toronto homeowners install in 2026 tends to be a charcoal or ash-grey Techo-Bloc or Unilock paver in a herringbone pattern with a contrasting banding course.
Banding and soldier courses. A contrasting border row around the field gives the driveway a finished, framed look. Adds $500–$1,500 to the project but dramatically improves curb appeal.
Permeable pavers. Pavers with wider joint gaps filled with fine stone allow water to infiltrate. Required by some stormwater bylaws for large new driveways. Cost 15–25% more than standard pavers but can unlock designs that wouldn’t be permitted otherwise.
The Heated Driveway Integration Advantage
This is where Country Renovations has a genuine cross-sell advantage that most landscape specialists don’t.
If you’ve ever thought about a heated driveway, the time to install the tubing is during interlock installation, not after. The hydronic tubing (PEX loops) gets set into the bedding sand layer before pavers go down. Retrofitting a heated driveway into an existing interlock surface means lifting every paver, removing the bedding sand, laying tubing, and re-laying everything.
In real numbers: adding hydronic tubing during an interlock installation adds roughly $8,000–$14,000 to a typical double-car driveway. Retrofitting the same system into a finished driveway runs $18,000–$26,000 because you’re paying for the full re-installation on top of the heating components.
If heated driveways are on your five-year horizon, the integrated approach is the right call. See our full heated driveway installation guide for how the systems work and what they cost to run.
Mini case study: Jennifer’s Etobicoke combo project
Jennifer lives on a steep Etobicoke cul-de-sac where snow clearing meant chipping ice every Saturday for eight winters. In summer 2025 she decided to replace her cracked concrete driveway with interlock and add a heated system in the same project. The combined job: 520 sq ft driveway with Unilock Il Campo pavers, full hydronic loop to a dedicated boiler, integrated smart controls. Total: $41,200 for both systems installed together. She estimates the retrofit would have cost $55,000–$60,000. The driveway heats itself in 20 minutes when it senses snow. No more ice-chipping Saturdays.
Red Flags in Interlock Quotes and Common Installation Defects
A proper interlock quote is not a single lump sum. It’s a scoped document that tells you exactly what you’re buying.
What a proper quote must contain
- Specific paver brand, product line, colour, and size
- Exact base depth in inches of compacted Granular A
- Geotextile fabric specification (non-woven, weight)
- Bedding material specification (HPB or screenings, not sand)
- Joint filler specification (polymeric sand, brand)
- Edge restraint type (plastic, aluminum, or concrete toe)
- Pattern specification (herringbone, running bond, etc.)
- Drainage details (slope direction, any drains or grading)
- Utility locate responsibility (should be installer)
- Permit and curb cut responsibility
- Site cleanup and disposal included
- Warranty terms (workmanship, settlement, paver defects)
- Payment milestones tied to completion stages, not calendar
If a quote is a single lump sum with “interlock driveway installation” as the only line item, walk away. You have no way to compare it to a competitor or hold the installer accountable. For a full framework on vetting contractors, see our guide to choosing a renovation contractor in Toronto.
Common installation defects and what they mean
- Wave across the surface. Uneven bedding sand or insufficient compaction. Installer skipped screeding or used a hand tamper instead of a plate tamper.
- Settling at edges. Missing or weak edge restraint. The pavers are drifting outward under vehicle load.
- Joint sand loss. Regular sand used instead of polymeric, or polymeric sand not properly activated with water.
- Efflorescence (white bloom). Normal on new pavers and usually fades in 6–12 months. Persistent efflorescence can mean moisture trapped under pavers, suggesting drainage issues.
- Heaving in winter. Inadequate base depth or no geotextile. Water freezing in the subgrade lifts the base and the pavers with it.
- Ants tunneling joints. Regular sand was used. Polymeric sand is ant-resistant.
Most of these appear in year two or three, after the first serious winter. A warranty that excludes “settlement” is not a warranty. A proper contractor warrants workmanship for at least 5 years including settlement, separate from the paver manufacturer warranty.
Frequently Asked Questions
How much does interlock driveway installation cost in Toronto in 2026?
The interlock driveway cost Toronto homeowners pay in 2026 ranges from $20 to $35 per square foot. A typical double-car driveway of 400 square feet runs $18,000 to $28,000 installed, including excavation, 6–8 inch Granular A base, geotextile, bedding sand, pavers, polymeric sand joints, and edge restraint. Add $1,500 to $4,000 for drainage work if the site needs regrading or a French drain.
How long does a proper interlock driveway last in Toronto?
A properly installed interlock driveway in Toronto lasts 25 to 30 years, sometimes longer. The pavers themselves last 40+ years; the limiting factor is base-layer settlement over time. Driveways with inadequate base prep, missing geotextile, or improper bedding sand can show heaving and settlement within 3 to 5 winters.
Do I need a permit to install interlock in Toronto?
Standard interlock resurfacing of an existing driveway does not require a building permit. However, a new or widened curb cut requires approval from City of Toronto Transportation Services ($800–$2,500 fee). Expanding the total hard surface area may also require review under Toronto Zoning Bylaw 569-2013, which caps front-yard hard surface coverage at roughly 50% on most residential lots.
Is interlock worth the extra cost vs concrete?
For Toronto climate, yes. Interlock costs roughly 50% more than concrete to install but lasts 5 to 10 years longer, flexes with freeze-thaw cycles instead of cracking, and is repairable by lifting individual pavers. Concrete, when it cracks, requires full slab replacement. Interlock also holds resale value better on home appraisal than either concrete or asphalt.
Can I install an interlock driveway myself?
Technically yes, legally yes for your own property. In practice, the base-prep work (excavation to 10–14 inches, hauling disposal, compacting lifts, laying geotextile) is heavy equipment work that requires a plate compactor, a screed, a wet saw, and several days. Most homeowners who start DIY projects end up hiring a contractor halfway through. The realistic DIY scope is a walkway or small patio, not a full driveway.
How do I find a reliable interlock driveway contractor Toronto homeowners trust?
A reliable interlock driveway contractor Toronto homeowners can trust will have a physical address, WSIB clearance, at least $2 million liability insurance, written warranty terms separate from the paver manufacturer warranty, and verifiable past projects. Industry bodies like Landscape Ontario list member contractors who follow professional standards. Quote shopping by price alone almost always ends badly on interlock because the price differences are in the hidden layers you can’t see after installation.
Getting Your Interlock Driveway Installation Toronto Project Right
Interlock driveway installation Toronto homeowners get right the first time pays dividends for 25 years or more. A Toronto interlock driveway is a major investment in your home. Done properly, it outlasts the roof and is cheaper to maintain than concrete or asphalt. Done cheaply, it’s the project you redo in five years at double the original cost.
The parts that matter most are the ones you can’t see: base depth, geotextile, bedding material, compaction standards, edge restraint, joint filler. Pavers and patterns come after. A proper quote spells all of that out in writing so you know what you’re buying.
Country Renovations has been installing interlock driveways, walkways, and patios across Toronto and the GTA since 2014. We’re licensed, insured, and we handle design, permits, installation, and (where it makes sense) heated driveway integration under a single fixed-price contract. Our interlock installation service and heated driveway service work together when homeowners want to plan for both.
Book a free interlock driveway assessment with Country Renovations →
This article was prepared by Simon at Country Renovations Inc. Last updated: April 20, 2026. For current Toronto permit fees and zoning requirements, confirm with City of Toronto Transportation Services and City Planning. For industry installation standards, see the Interlocking Concrete Pavement Institute. Country Renovations is a licensed, insured general contracting company serving Toronto and the Greater Toronto Area since 2014, with completed interlock projects in Scarborough, North York, East York, Etobicoke, Markham, Mississauga, Oakville, and Vaughan.
Leave a Reply
You must be logged in to post a comment.